Today, HTTP (and HTTPS) is everywhere. In fact, these two protocols allow you to transfer data over the Internet. You use them to surf websites and download files, but there is more than that. They are also at the foundation of web services and REST applications: software that talks to other software. No matter the way you put it, if you are in IT you need to deal with these guys. In this HTTP Troubleshooting tutorial, you will see what to do when things go south. Any web developer and network engineer should read this!
Introducing HTTP Troubleshooting
HTTP in less than a minute
We talked a lot about HTTP on ICTShore.com. I’ll give you a quick recap and leave the reference for those who need it.
HTTP is a protocol to transfer data between remote devices. It establishes a TCP connection between the two, and then exchange plain text. It works with a client-server model, meaning that one device makes a request (the client) and the other response (the server). The client describes its request in plain text, then the server reply in the same TCP connection. Once the client receives the response, the connection is closed.
Eager to know more? We got you covered:
- Understanding the transport layer and basic TCP
- An overview of advanced TCP features
- How does HTTP work?
Why HTTP Troubleshooting?
Okay, but why do we need to do HTTP Troubleshooting? What are the use cases? In a complex environment like an Enterprise, you generally not know where the problem is. It might be on the webserver, on the network devices, or on the security devices like IDS/IPS, or Internet Proxy. At this point, different groups may attempt to blame one another, and you need to prove your part is working. In many companies, I’ve seen that things go like: it is always a network problem until proven otherwise. I am sure many network engineers will have experienced the same!
Knowing how to do proper HTTP troubleshooting is important when working with RESTful applications, as well as when developing websites. It may also come handy in other occasions, like if you are unsure if the problem of connection is on your PC or not.
What isn’t HTTP troubleshooting: with HTTP troubleshooting, we mean checking what is not working in your HTTP flow. However, this assumes that there is an active HTTP flow. If you are unable to connect to the server or get messages like “can’t resolve this name”, the problem is before HTTP even starts working. That’s a whole other story.
The tools for HTTP Troubleshooting
HTTP Troubleshooting is done easily with free tools. In fact, you might already have such tools, as we do it with a browser. After all, Internet browsers are designed to work with HTTP. For this article, we will present how to do HTTP Troubleshooting with Google Chrome. The same thing is possible on Firefox, with a very similar interface.
HTTP Troubleshooting Tutorial
Of course, to perform HTTP troubleshooting you need to have something to troubleshoot. If you don’t have anything with a problem right now, you can simply use this guide to understand how things work. In fact, you can apply the same principles to a healthy HTTP process. In this tutorial, we will do that by connecting to ICTShore.com and monitoring what is happening.
Launching the debugger
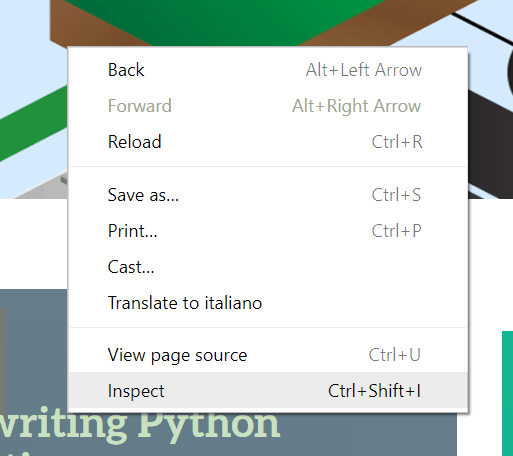
Open your browser and navigate to the site you are interested in. Then, right-click on anywhere in the pace and select Inspect. Alternatively, you can use Shift+Ctrl+I as a keyboard shortcut. Right-clicking will work nearly anywhere, but if it doesn’t try on a different part of the page.
This will open a side or bottom panel on your browser with additional information. By default, this panel will show the HTML code behind the page, but we don’t need that for today.
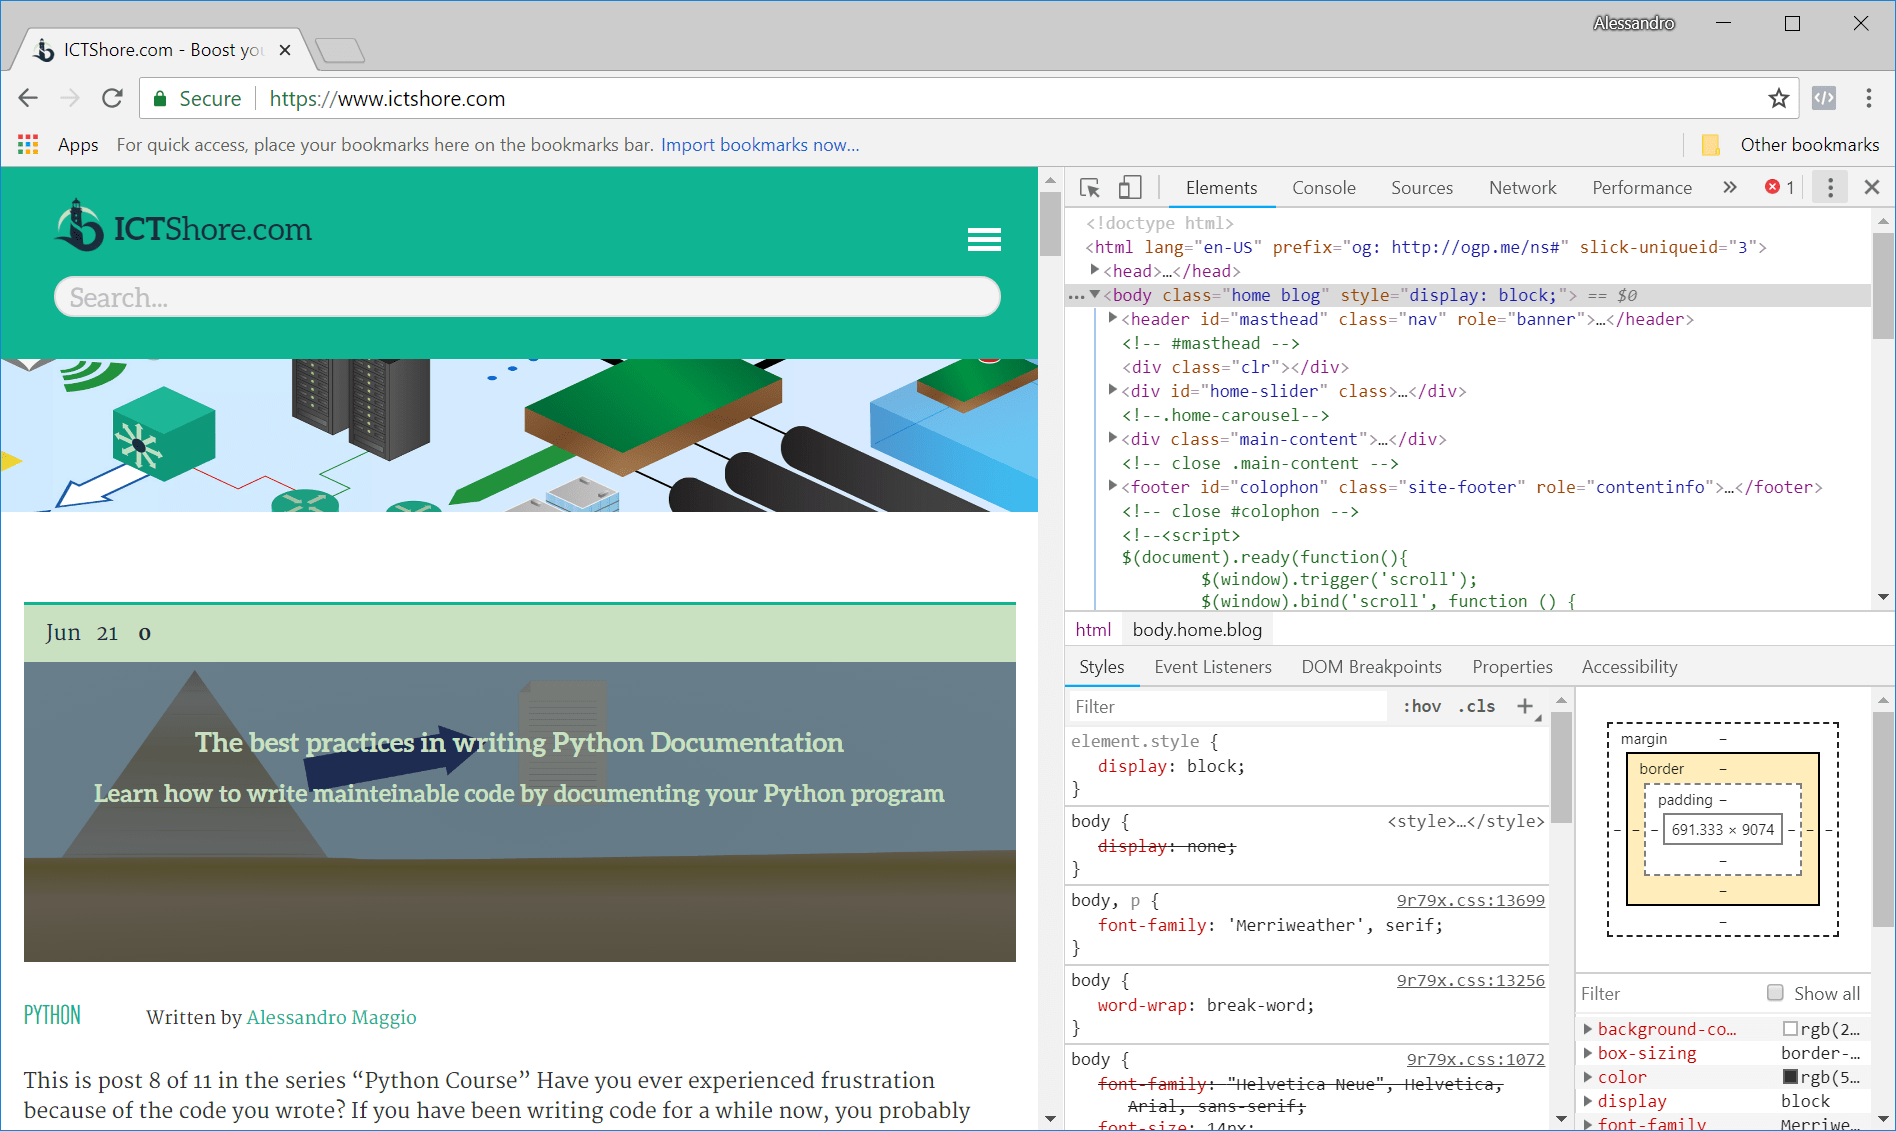
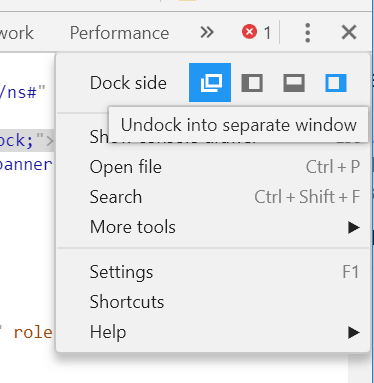
To ease our work, we can detach the Developer Tool panels to have it on a separate window. We can do that from the top-right, by selecting its options and then Undock into separate window.
Now, move to the Network tab and we are ready to start our HTTP Troubleshooting session!
Actual HTTP Troubleshooting
Once in the Network tab of the Developer Tools, it F5. This will reload the page, and you will see all the HTTP requests going on. Even if you are loading a single page, your PC will several requests to show you what you believe is a single thing.
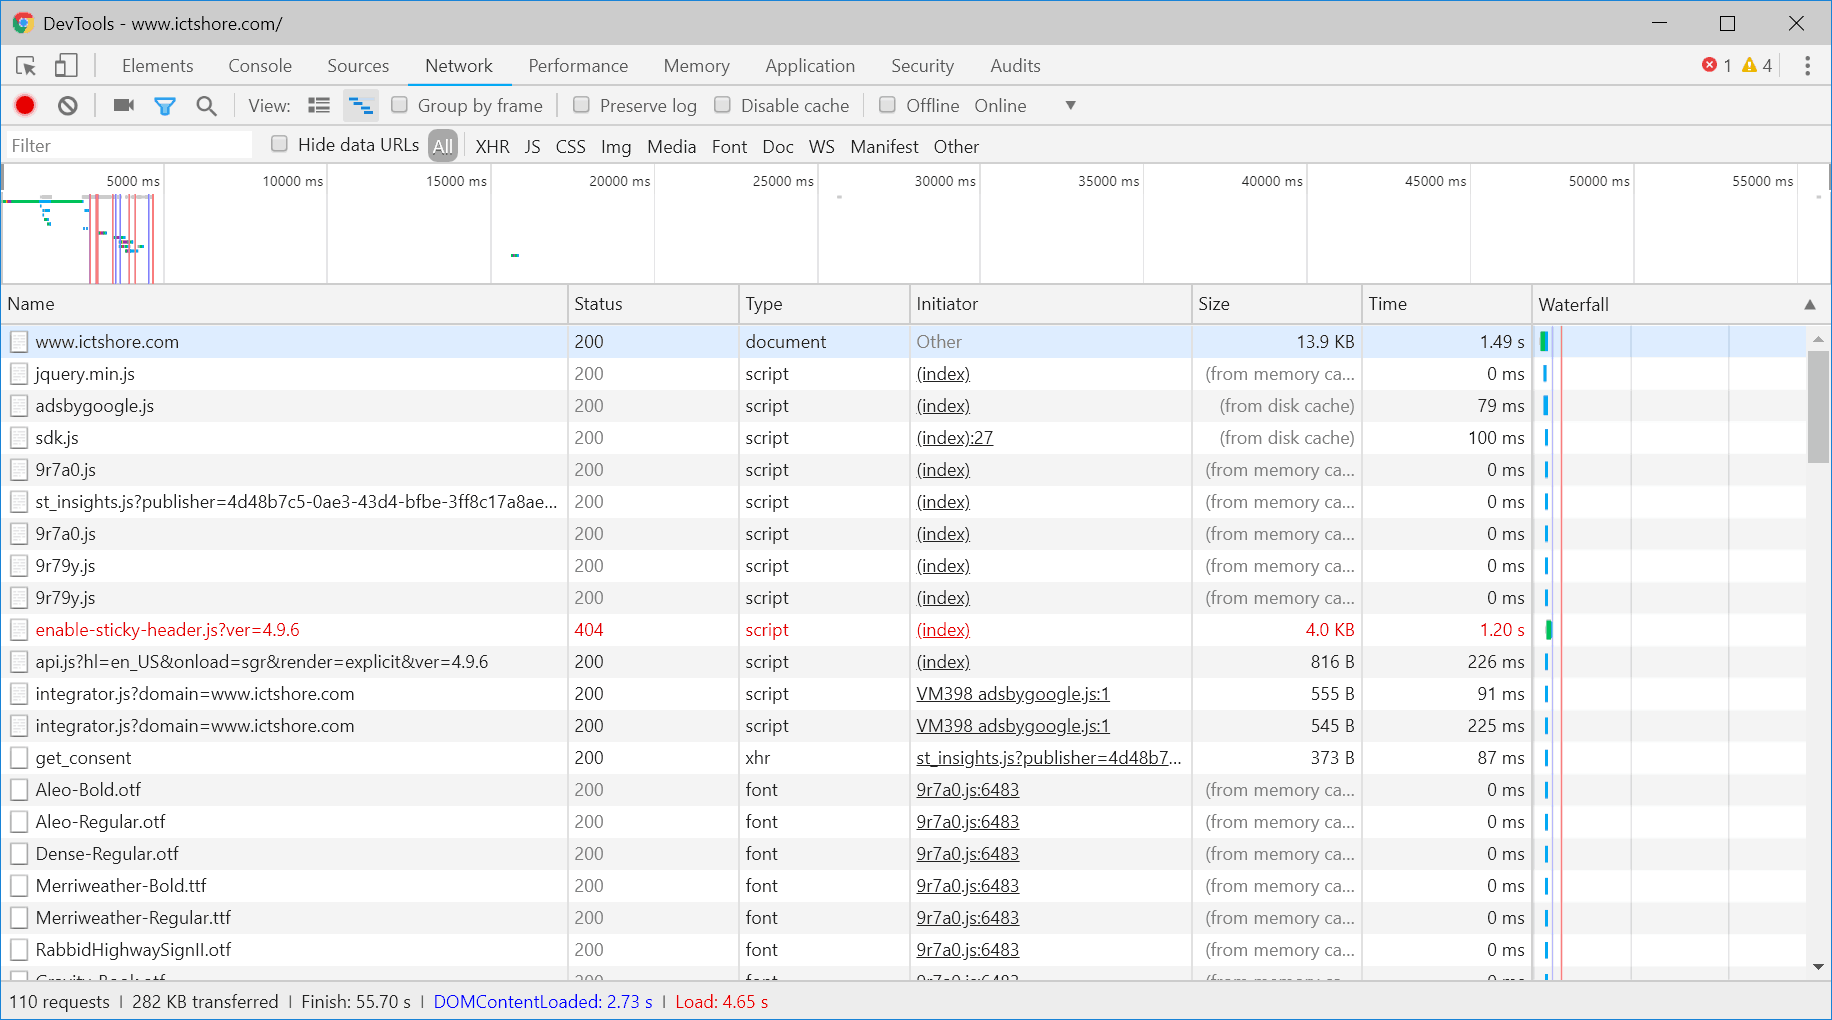
All of this looks messy at first, but in the end, it is extremely simple. To get a web page, you need to get all the images it contains, as well as other content. For example, you need additional pages for styling and animations or other dynamic functionalities. You, as a user, won’t actually see such pages. However, your browser will use them to add the style and the functionalities that you actually see. This explains the need for multiple requests for a single page.
Now, each request will naturally take its time. The top bar is a timeline, and you can see that by the fact that it shows milliseconds (ms). Here you can see where your requests are placed in time: in our example, almost everything is under 5000 ms. This is handy if you want to see how fast a website is.
Understanding fields in the Network tab
After that, you have a table listing the actual requests you made. This is the most important information you can get for HTTP troubleshooting. In this table, you can see:
- Name is the resource you requested to the remote server
- Status is how the request went, we will go deeper on that later. To help you, Chrome shows requests that went bad in red (you can see one in the picture above)
- Type is what kind of resource you have requested
- Initiator is another interesting part. Each request, in the end, downloads a file. Each file, however, can tell your browser to download other files, and this is why you ask for a single page and your browser knows everything it needs. The Initiator is the file that generated the request. You can see that the first request is Other because the Initiator was the user.
- Size is the volume of the response
- Time is how long it took to download the file
- Waterfall is an expansion of the timeline
You can see some files are not downloaded (time is 0). This is because your browser copied them locally. If you want to download everything, use Ctrl+F5 instead of F5.
More about individual requests
To do a better HTTP Troubleshooting, we might want to check individual requests in detail. To do that, simply click on a request on the list. This will show you additional tabs where you can see HTTP headers, the actual request/response, and more about timing.
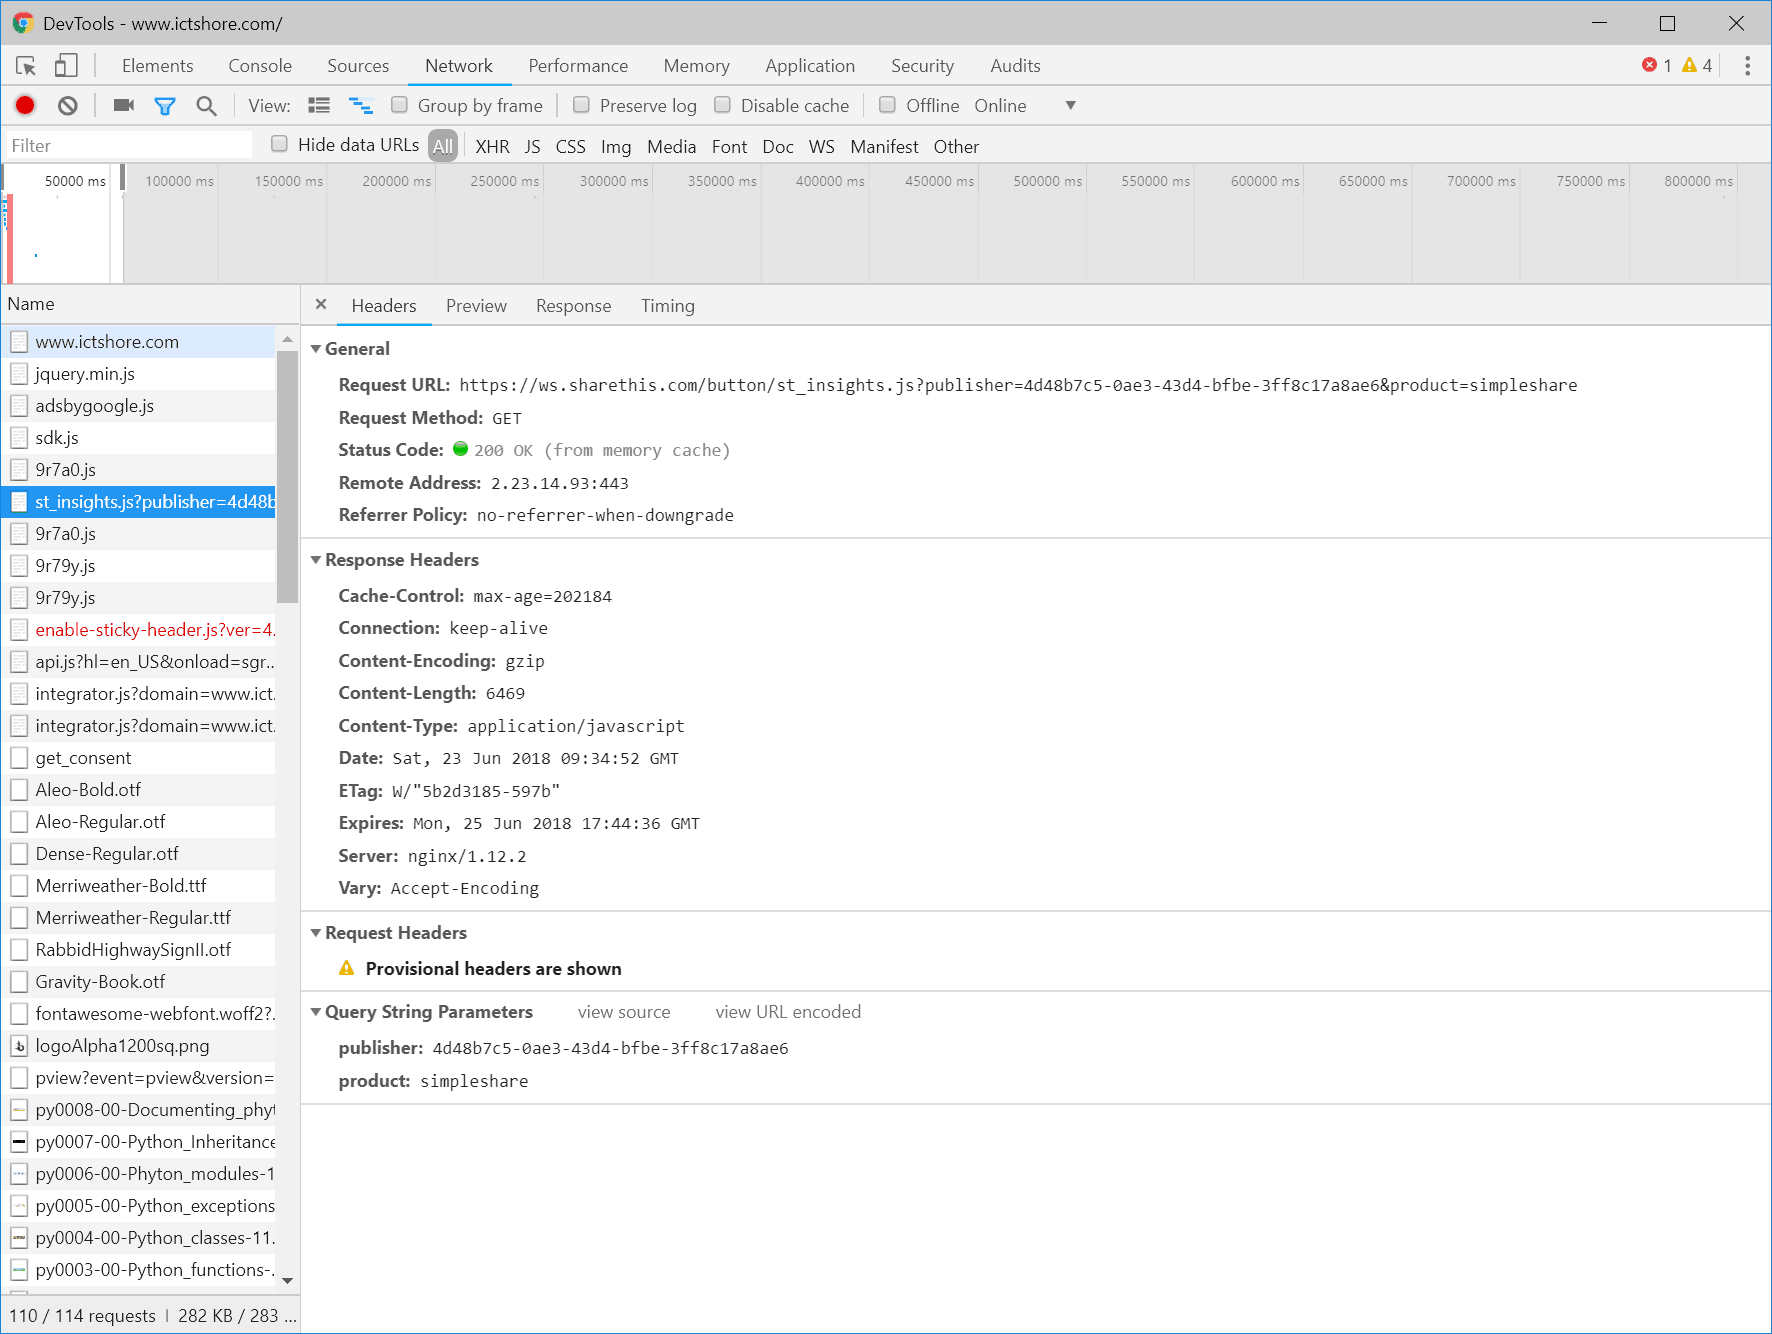
The most important tab here is the Headers. Here you can see what URL you requested, and any additional parameters you might have used. Remember them, we will get to that later. The important part here is the Response Headers. These headers are the information that came with the response. You can see that the server tells you information about caching, about itself, and about encoding. If you are problems here, the problem is likely to be on the webserver or on an application-aware device like a load balancer.
HTTP Troubleshooting on Statuses
Now that you know the tools and how to use them, we can focus on individual HTTP Status codes. They tell you precious information about your HTTP request and response process. Each status has a number, where the first digit indicates the type of status:
- 1xx stands for informational responses, advanced stuff we won’t cover today
- 2xx is for successful requests
- 3xx is for redirections
- 4xx is for client errors: problems in your request
- 5xx is for server errors: problems inside the webserver
HTTP Status 2xx
If your status falls in this category everything is working fine. The server processes the request without any issue and returned you a response. If you see a message of this kind, but no content on the page, the problem is likely to be on the server. There are several responses of this kind, below the most common.
| Code | Name | Description |
|---|---|---|
| 200 | OK | Generic success. |
| 201 | Created | The request was processed successfully and this resulted in the creation of a new resource (e.g. a user, an order). This is generally used in software-to-software applications such as APIs. |
| 202 | Accepted | The server accepted the request, but processing is not completed. Useful for long or delayed operations. |
| 204 | No Content | The server processed the request, and it is responding with no content (e.g. it means “page intentionally left blank”). |
HTTP Status 3xx
These statuses indicate a redirection. This means the content has moved to another location, like another server or URL. The most common of these messages is 301, which means that the content is permanently moved on another URL. This is useful if you migrate to another website.
HTTP Status 4xx
This range of statuses indicates client errors. In other words, the server is telling you that there is an error in your request. For example, you might have some HTTP headers the server does not understand. Here you can find authorization errors as well: they are considered client errors because the request is not authorized as it should.
| Code | Name | Description |
|---|---|---|
| 400 | Bad Request | Generic client error (e.g. bad syntax in request). |
| 401 | Unauthorized | User is not authenticated. |
| 403 | Forbidden | The user is recognized but has no privilege to perform this request. |
| 404 | Not Found | You are requesting a resource that does not exist. |
| 405 | Method Not Allowed | Each request can be made with several HTTP methods (e.g. GET, POST, PUT), the one you are using is not valid for this request. Useful for REST APIs. |
| 407 | Proxy Authorization Required | You must be authenticated by a proxy server before proceeding. |
| 408 | Timeout | You did not manage to complete the HTTP exchange before the underlying TCP connection was closed. |
| 429 | Too Many Requests | Intended for rate-limiting your requests. |
HTTP Status 5xx
These errors are the bad guys_ Server Errors. This kind of error means the remote server is in error, so this is the place to check. You should ask the server owner to verify everything is in place.
| Code | Name | Description |
|---|---|---|
| 500 | Internal Server Error | Generic server-side error. |
| 501 | Not Implemented | This page or feature is not yet available. |
| 502 | Bad Gateway | You are using a proxy or a CDN, and it cannot connect to the server where the website actually is. |
| 503 | Service Unavailable | The website is temporarily unavailable. |
Wrapping up HTTP Troubleshooting
In this article, we presented HTTP Troubleshooting in all its beauty. You now have the tools you need to assess the situation in case a website is not working as expected. Of course, you can apply the same concepts to web services like SOAP or REST. In conclusion, I want to share with you an extra tip:
We saw that a website page is, in reality, a composition of many pages. If the page loads but looks just “wrong”, maybe some of the requests failed. For example, if it lacks formatting, chances are it didn’t load the style document. You can inspect the Network tool we showed before to see what actually did not load, and what was the error. If instead, you specifically want to work with web services, I recommend trying Postman (a free software).
What do you think of HTTP codes and troubleshooting through the browser? What is your technique? As always, let me know in the comments your opinion!

