
Any developer must know how to use git. If you don’t know how to use it, or if you are just starting out, this post is for you. In fact, this tutorial will show everything you need to use git efficiently.
The focus of this tutorial is on how to use git, and we assume you already have it. Still, if you don’t have it just yet, don’t panic. Heck, even if you don’t know what git is, we have something for you. Just be sure to check these two posts before continue reading.
Now that you are all set, we can start with how to use git.
How To Use Git Commands
Git is a command-line tool, and this means you open a prompt and start typing. Yes, that ugly black screen with white text (or green, if you are fancy). This may sound counterintuitive at first, why wouldn’t you want a graphic interface, after all? Yes, graphic interfaces are convenient, but often just for beginners.
As soon as you grow expert in something, you want to be as fast as possible in doing it. And, you do that by using the command line, because you don’t have to waste time moving the mouse around. Instead, your hands are always on the keyboard, boosting productivity.
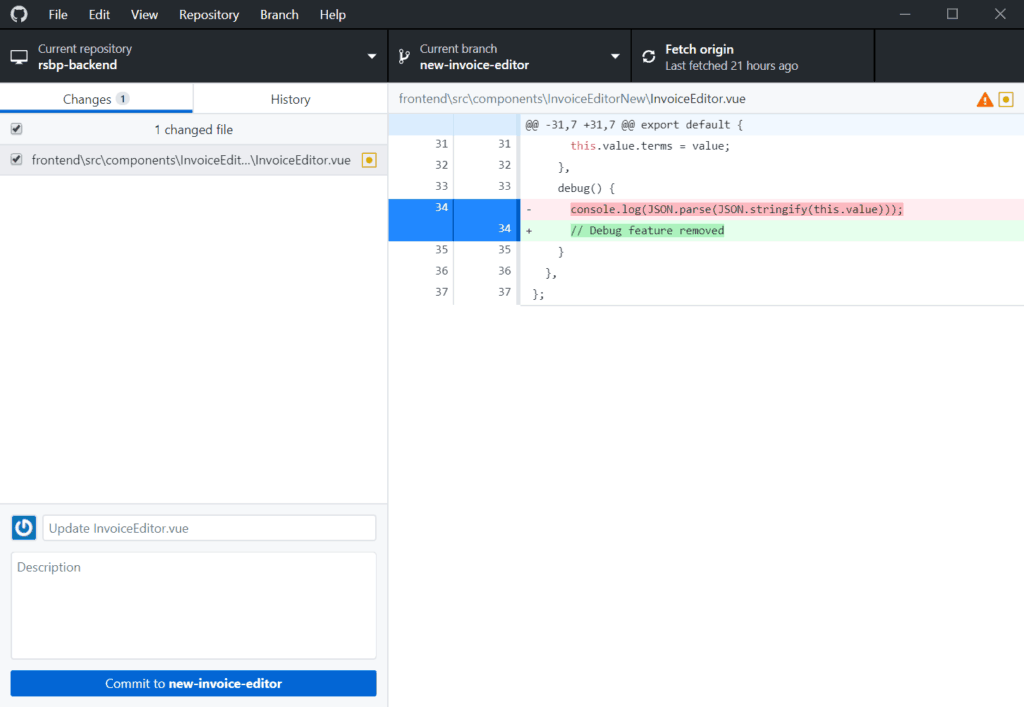
Nonetheless, there are some commands you simply won’t remember. So, it is often nice to have a GUI ready to kick in, just in case you need it. For that, I recommend GitHub Desktop, which you can download from here.
Now, we will see how to use the git commands you need to work on a project. We will see them in the order in which you will need them.
Git Command not found?
Before you start, try typing git in the command prompt. If it says something like “command not found” or “command not recognized”, but you have installed git, don’t panic. You just need to add git to the PATH environment variables.
If you are on Windows, search for Environment variables in the start menu, go on the edit page and search for Path, then edit it and add a new line. The new line must be the place where you installed git, the folder containing git.exe (normally /bin inside the git installation folder).
How to use Git Init
The CLI command git init initializes a folder for git to use it. It is the first command you want to use when you create a new project locally. With this command, you basically say “Hey, I want to manage this project with Git”.
git init
So, it makes sense that you have to run this command in the root folder of your project. For example, if your project is in C:/development/my-project, you want to navigate to that folder and then use init inside of it. This will create also .git subfolder, which contains stuff git needs.
Set the URL of the Remote Server
At this point, we have a pretty repository on our PC. However, we know that git brings way more benefits if we sync to a server, like GitHub.com.
So, we need to create a repository on our server (such as GitHub.com), and then get the URL of it. To do that, we just create the repository and then read the URL from the browser’s bar. If you are on GitHub, your URL will be something like https://github.com/username/repository.
Once we have a remote URL, we can say to our git that we want to sync changes to that URL. We do that with git remote set-url origin.
git remote set-url origin URLObviously, replace URL with whatever URL you got. In case your server requires authentication, as it should be, don’t worry. As soon as you execute an operation that interacts with the server, you will be asked for credentials. Then, your PC will cache them for convenience.
Cloning a Repository
The previous approach (git init and git remote set-url origin) works well if you are creating a new repository. However, if you already have some code on your server, you just want to download it. You want to clone the repository.
Simply enough, we have a command for that.
git clone URLIf the URL requires authentication, you will have to provide credentials as soon as you hit Enter. Besides that, everything will work automatically. This command will create a new folder with the name of the repository, so if you want your project to be in C:/development/my-project, execute the command in C:/development.
Git will automatically create a sub-folder with the name of the repository, so for example, if your URL is https://github.com/alessandromaggio/pythonping, you will create a folder named pythonping.
Of course, this works well even if the repository is new. Just create it on the server first and then clone it.
Git Branch & Checkout
To keep the code in order, you want to segment all the changes you make into branches. In this way, it is easier to keeps track of how your code evolves, and what are the changes you make. Confused about branches? Read this.
First thing, you may want to check out what branches you have already before you create a new one. Just type git branch to see all the branches. In a brand new repository, you should have just one branch, the master. Now, the master represents your production-ready code. You don’t want to make many changes to it, and only good changes. So, you need to create some sub-branches to make changes with ease.
To create a new branch, just use git branch with the name of your new branch. I recommend using kebab-case (everything is lowercase, words separated by hyphens).
git branch my-new-branch-nameNow, you just created the branch, but it is just there sitting. You want that new changes you make will be added to that branch, not the master. You need to move into that branch. To use the git term, you need to check-out the branch. Easy enough, use git checkout.
git checkout my-previously-created-branch-nameWhich Branches should I create?
In any repository, you should have always two branches plus a branch for each new feature you make. The two branches you always need are:
- master – it represents the code in its production state
- dev – it glues together all the other branches but the master. Basically, this is the place where you package together multiple features before updating the master.
Now, you can have a new branch for each feature or user story, in other words, a new branch for each new functionality you add to your code. In case you want to explore these concepts, read this “What is a User Story?” post.
Now, all feature branches should not come from the master. They should come from dev. So, create dev first, checkout to it, and then create new branches from it. For very large features, you may even create sub-branches from a feature branch.
Git Commit
Okay, git commit is the command you will use more than any other. This is because it is the one you use to “snapshot” your code. To save a significant point in time for your code. Added the possibility to resize tables on the web page? Commit. Improved the crash system of your video-game? Commit. Created a buffer for your video player? Commit. I think you get the point.
Committing code is different from saving files. You should save files every time you can, as early as often as possible. Instead, you should commit only when files are in a “good state”. To make this more clear, imagine you are not writing code, but a book instead.
You want to save your Word file compulsively, as much as you can. Even if you left a paragraph, or even a phrase, half-unwritten. However, you don’t want to share it as the “first draft of chapter X” just yet. Once you finish that paragraph and that chapter, then you can submit your draft. Of course, that draft is nowhere near its final release status. Yet, it is not “broken”, with a paragraph left midway.
Git commits are just like that. But, they do more than just saving the snapshot. You should provide a description of the commit, telling what does this commit do?
git commit -m "Fix the table display bug"The message (-m) of commits should be imperative. It should make sense if you say “If applied, this commit will <my message here>”. So, in this example: “If applied, this commit will fix the table display bug”. It makes sense, doesn’t it?
Git Push & Pull
Whatever operation you make, it remains on your computer. It can be the creation of a branch, a commit, or even a set of commits, everything is local to your PC. Well, at some point, you want to update the server. You want to update the server for two reasons:
- In case your PC breaks you will have a backup
- If you are working with a team, your team will see the changes on the server
So, to do that, we have two commands. With git push, we send code (and branches and commits) from our PC to the remote server. To the origin. Instead, with git pull, we work in the other direction: we download code from the server.
git push origingit pull originNow, everything should work fine as long as you are the only one working in your branch. However, if you are not, you will end up with conflicts. You have a conflict if you updated a file, and that file was updated as well on the server (between your download and new upload with changes).
In this case, we have no magic. Git can’t know how to combine the two files correctly, it needs manual input. You need to review the two versions of the file and check what to keep of each. This is easy with an editor because it will put changes side-by-side and you can select what to keep and what to ditch.
If you have an editor that supports Git, like Microsoft Visual Studio Code, just attempt the merge and it should throw an error and show the conflicts if you open the files. To help you there, use git log --merge.
Additional commands
To check what files are part of the current commit, which files changed and so on, use git status.
git statusTo check the differences between the current commit (not yet committed) and the previous one, use git diff.
git diffHowever, checking the differences between files is painful in the command line. Much better if we do that from a graphic interface.
How to use .gitignore
Git CLI commands are not the only good things git brings to the table. We should also look at the .gitignore file. This file tells git what files not consider part of git, and thus exclude them from any commit.
What do you want to exclude from git, and why? In general, dependencies and installed modules, but also compiled code.
For example, if you are developing a javascript application, it will have a node_modules folder containing all the code from dependencies. However, you don’t want to keep track of how the code of your dependencies changes, so you should exclude it. (You want to keep track of what the dependencies are, but this is not in node_modules).
You build your application and create the compiled conde in /dist or /build? Exclude them, they are not part of your source code. Anything that is not part of your source code should be included in the .gitignore file.
Ignoring files is simple. Create your .gitignore file in your project root (the same folder that contains .git), and in it list all the files you want to exclude line by line. You can list also folders, use wildcards and comment (to comment, start a line with #).
# A folder
node_modules

# A file
.env

# Another folder
/backend/public

# All files with .log extension
*.log
In case you want to include something through gitignore, add an exclamation mark. You do that when you want to exclude an entire folder, but some files in it.
/backend/public
!/backend/public/index.php
Just one remark, you can ignore only files you have not yet committed. If you already committed a file, adding it to .gitignore will have no effect. You will have to manually delete it from the source control.
Git Pull Requests
Normally, I prefer to do pull requests from the graphic interface on the server, such as on GitHub.com or Microsoft Azure DevOps. It is much easier and cleaner.
Okay, but what is a pull request? A pull request is an act of merging back a branch into another. Imagine we created our branch to improve our tables in our web pages, say the web-table branch. We did a good job, and now we are ready to publish. Now, we want our changes to be integrated into dev, so the branch that originated web-table.
We do that with a pull request. Once we create the request, git will check if there is any conflict. If we have some, we need to solve them. Once there is no conflict, we can merge the pull request. We have some options here for the merge:
- Explicit – we simply do the merge and git keeps track of what was committed in each branch, so we know that what changes were generated on our web-table. Most detailed, but generates some noise. It is the default.
- Implicit – we cannot see the history anymore it is like everything was done on the parent branch.
- Squash – we cannot see the history. All the commits from the child branch are converted into one nasty giant single commit that is then applied to the parent branch. Better for simplicity and to keep the repository clean, but you lose the advantages of having the history.
In case you want to venture in dire straits, you can do all of this from the command line. Just use the git merge command.
git merge branch1 branch2In Conclusion
Now, you have all the tools you need to start working with git. In this tutorial, we saw how to use git to work pretty much on any project, even in teams. However, by no means, this tutorial eviscerates all the advanced features of git. Quite the opposite.
There are some advanced things you may look at. Some of them are just dead simple from the GUI (such as GitHub desktop), some are only available in the CLI. A few ideas: how to totally remove a single file from the entire history of a repository, how to undo a git commit, or how to exclude some files from a commit. That latter one is quite useful, and from the GUI it can be as easy as flagging the file.

